The integration guide provides step-by-step tutorials for both adding Comm100 to a VoIP system and adding VoIP functionalities to the Comm100 system. To make the instructions more case-specific and easier to understand, we take Vincall, a simplified VoIP system, as the example to illustrate. The steps for integrating with other VoIP systems are similar, if you need help during the integration, contact Comm100 Support Team for help.
Vincall Feature Introduction
Vincall provides the basic VoIP features including handling phone calls, checking call reports, and setting up working hours.
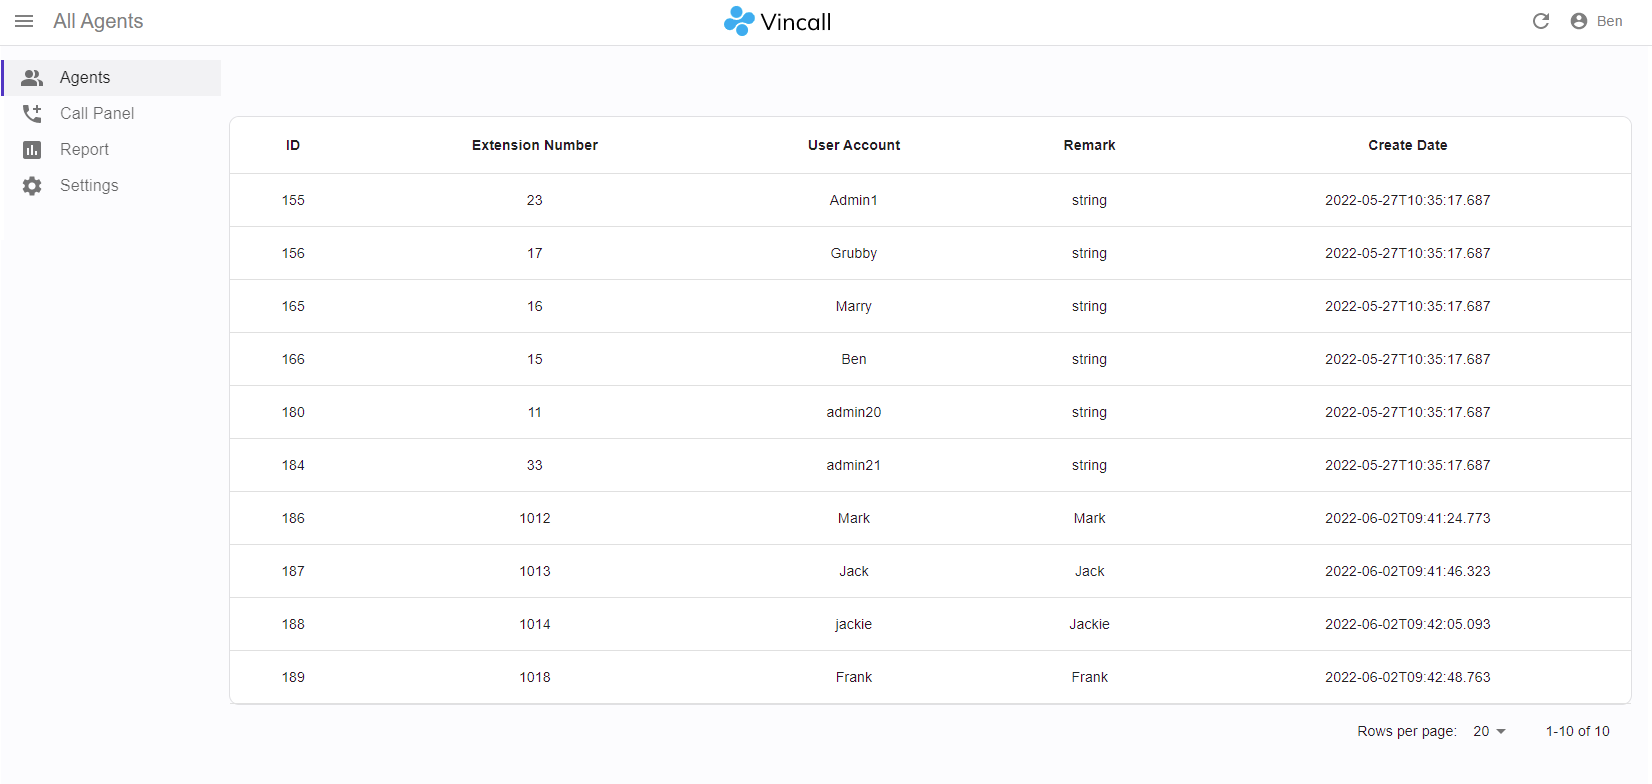
Vincall Admin Panel is the unified user interface for admins to make configurations and for agents to handle calls. Within the Admin Panel, agent users can answer or initiate calls under the Call Panel menu.
The following operations are available within the Vincall Admin Panel:
-
Handling phone calls. Under the Call Panel menu, agents can answer incoming calls and make outcoming calls. They can also dial the number from the history calls list.
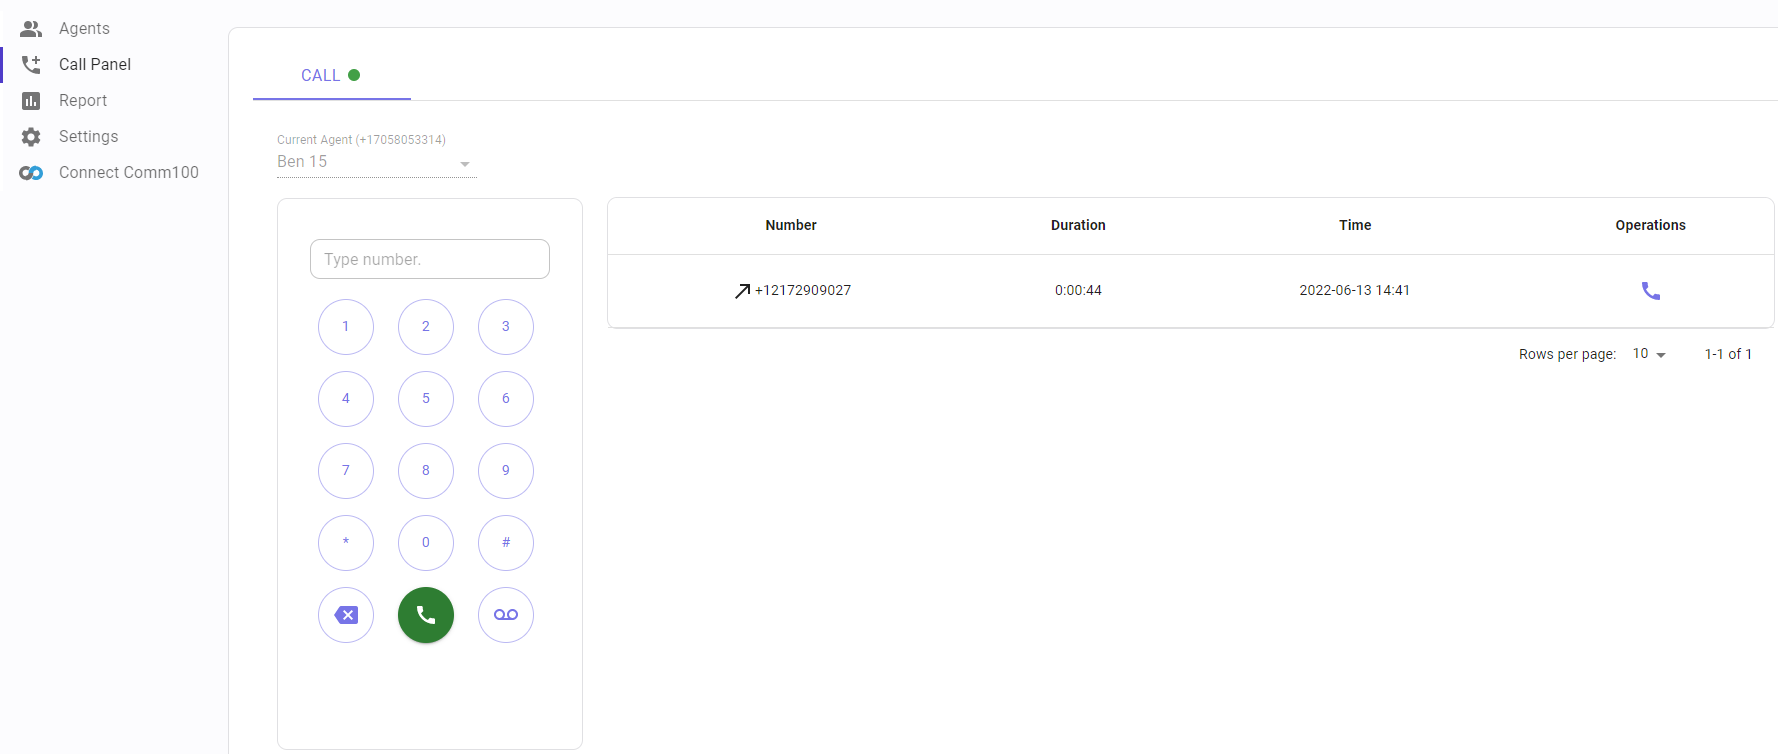
Within the Call Panel, agents' status shows on the top menu bar.
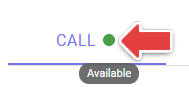
In Vincall, agents’ status includes the following:
- Available: The agent is online and is available to handle calls.
- On Call: The agent is taking a call.
- Do not disturb: The agent is busy and unavailable for incoming calls.
- Offline: The agent has logged out.
-
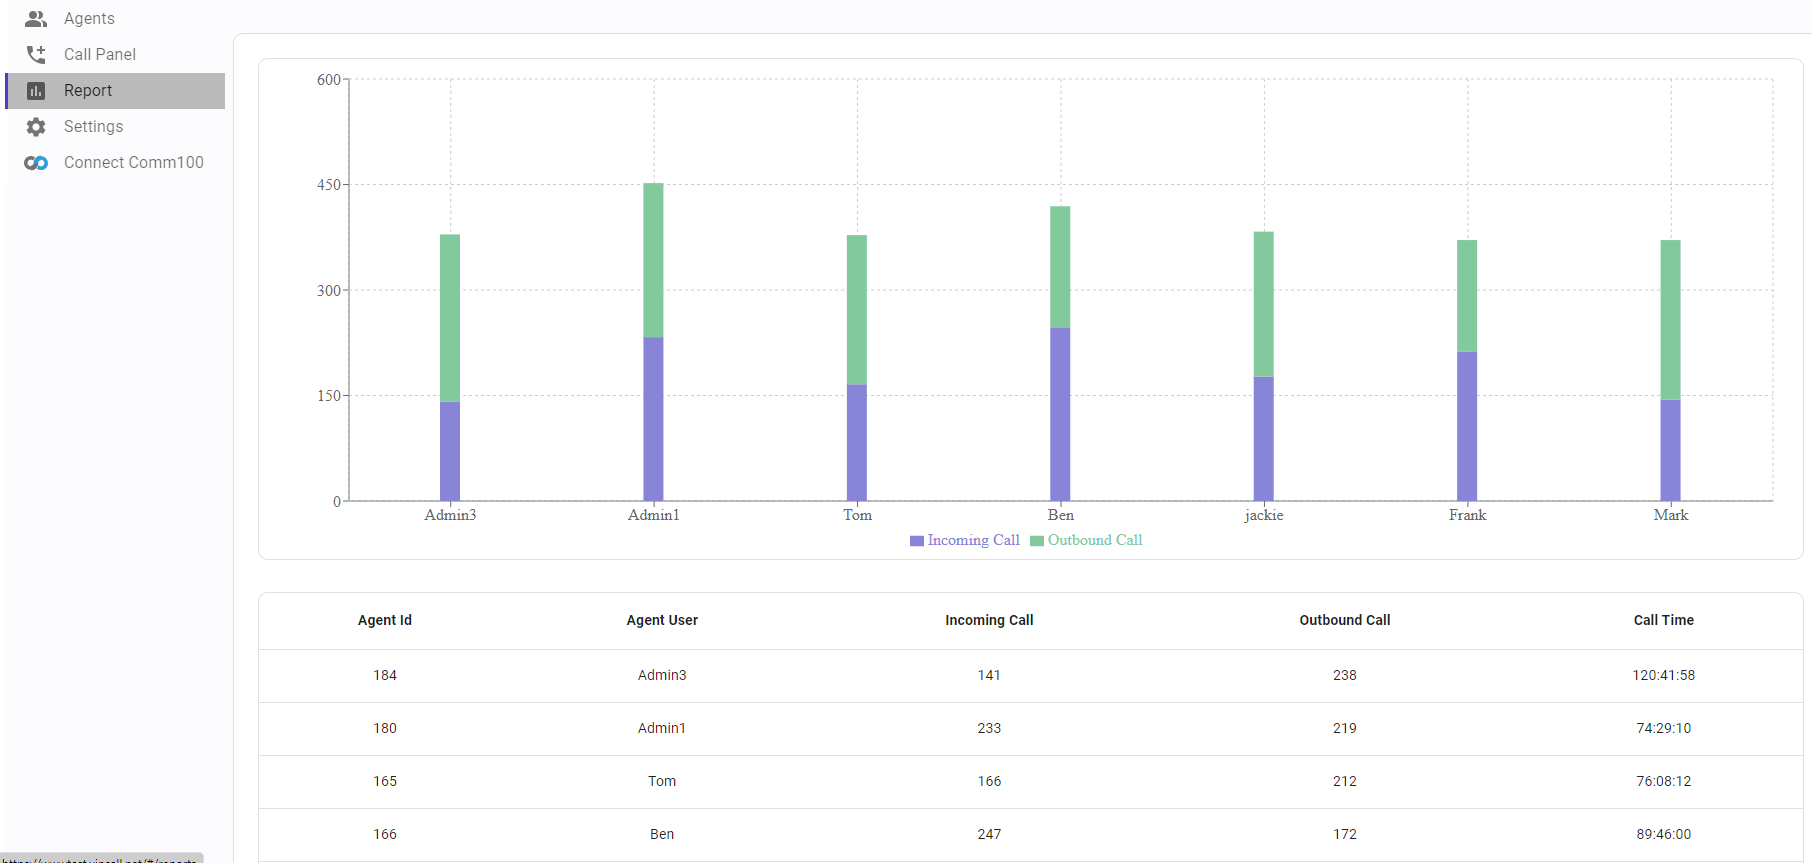
Checking call reports. Under the Report menu, agents can check the number of incoming and outcoming calls, and call time.
-
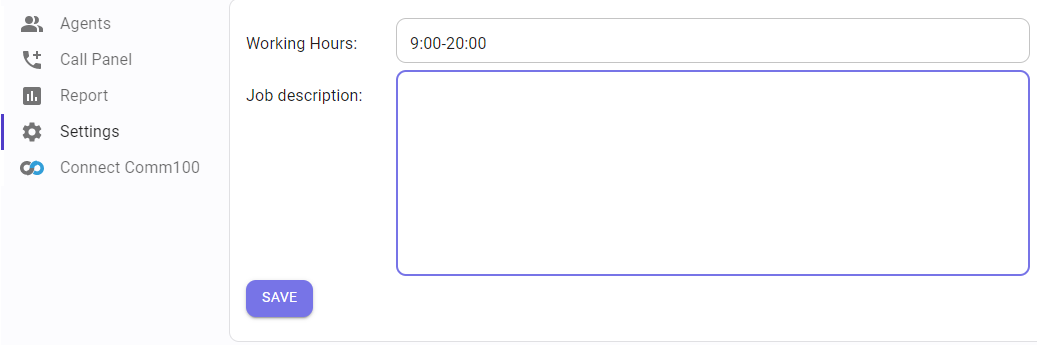
Setting up working hours. Under the Settings menu, agents can set up working hours. Agents will not handle incoming calls outside this time range.
Vincall Project Introduction
The Vincall projects consist of three components: the Vincall Admin Panel frontend and backend projects (vincall.portal and vincall.service), the authentication project (vincall.oauth), and the integration project with Comm100 (vincallApp, VincallIntegration).
Front-end and back-end development are separated in each project. In terms of technology stack selection, the front-end projects use react technology, and the back-end projects use .NET core 3.1 technology.
Refer to the following to learn more about each project:
- Project Vincall Portal
- Project Vincall Service
- Project Vincall OAuth
- Project Vincall App
- Project Vincall Integration
Project Vincall Portal
The Vincall Portal is the Vincall Admin Panel's frontend project using react-admin and TypeScript. You can customize it for your own use based on the content in this article and react-admin tutorials .
The project directory is as follows:
src
  ├─Assets # images and icons
  ├─AuthProvider # authProvider of react-admin
  ├─Components # components
  ├─Components # dataProvider of react-admin
  ├─Runtime # runtime
  ├─Helpers # helpers, permissions and context providers
  ├─Layout # layout of UI
  ├─Pages # all pages of the project
  └─StyledComponents # styled React UI component.
Initializing
Clone the vincall-portal repository on your computer and install the dependencies using:
git clone https://github.com/Comm100/vincall-portal.git
cd vincall-portal
npm install
After installation, you can start the local server using:
npm run start
If you want to customize your local server, you can modify file .env.development. By default, host is localhost and port is 3000.
Modifying configuration
Setting Up Domains for APIs
You can modify the file EnvConfig.js to set up custom domain names for your own use.
By default, serverUrl is used as the prefix url for most APIs. routeUrl is used for OAuth APIs.
// file: EnvConfig.js
// You can change, add Urls here.
const proEnv = {
  serverUrl: "https://api.vincall.net/api",
  routeUrl: "https://route.comm100.io",
  // ...
}

const devEnv = {
  // ...
}

const testEnv = {
  // ...
}

export const EnvConfig =
  location.host === "www.vincall.net"
    ? proEnv
    : location.host === "wwwtest.vincall.net"
    ? testEnv
    : devEnv;
Modifying APIs
There are two recommended methods to modify APIs in vincall.portal.
- Modify
dataProvider.ts. This method is same as modifying APIs in react-admin.
// file: dataProvider.ts
export const dataProvider = (
  apiUrl: string,
  httpClient = customHttpClient,
  countHeader: string = "Content-Range"
): DataProvider => ({
  getList: (resource, params) => {
    // ...
  },
  // ...
});
- Use
customHttpClientto call APIs.
// file: customHttpClient.ts
export const customHttpClient = (url: string, options?: Options) => {
  let _options = options;
  if (!_options) {
    _options = {};
  }
  _options.credentials = "include";

  return fetchUtils.fetchJson(url, _options);
};


// Example
customHttpClient(
  `${getServerURL()}/connectState?siteId=${siteId}`,
      {
        method: "GET",
      }
    ).then(
      // ...
    ).catch(
      // ...
    )
Project Vincall Service
The project is the backend program of Vincall's Admin Panel. It provides Vincall's agent, report, voice, and other standard API interfaces.
Initializing
Clone the vincall-service repository on your computer, and install dependencies using:
git clone https://github.com/Comm100/vincall-service.git
Then if you want to run the project, go to the directory VincallService/vincall.service/vincall.service.
cd VincallService/vincall.service/vincall.service
dotnet run
You can call http://localhost:5001/swagger/index.html to check if the service is running.
The configuration items of the project are as follows and can be modified according to the actual situation.
{
  "ConnectionStrings": {
    "Vincall": "Server=localhost;User=sa;Password=sa;Database=vincall"
  },
  "InitDB": "false",
  "Logging": {
    "LogLevel": {
      "Default": "Information",
      "Microsoft": "Warning",
      "Microsoft.Hosting.Lifetime": "Information"
    }
  },
  "OauthUri": "https://oauth.vincall.net",
  "TokenPrivateKey": "MIIFHDBOBgkqhkiG9w0***=="

}
- ConnectionStrings: The connection string to the Microsoft SQL server database.
- InitDB: Whether to recreate the database table structure and initialize the population of data. If the data table structure has already been initialized, it will not be modified again.
- Logging: The definition and type of the log output are changed
- OauthUri: Vincall's OAuth 2 service address.
- TokenPrivateKey: Private key ciphertext required for token issuance.
If you are initializing for the first time, you will need to prepare the MS SQL Server environment. Once the database environment is ready, you can change the ConnectionString Authdb key and InitDB key.
 "ConnectionStrings": {
    "AuthDB": "Server=[your ip];User=[your username];Password=[your passwor];Database=vincall"
  },
  "InitDB": "true",
Then run the program.
dotnet run
Finally, Let's check database when opening Microsoft SQL server management studio.
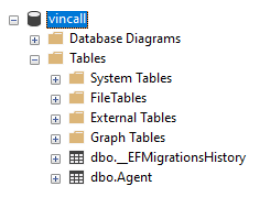
That is ok.
Project Vincall OAuth
The project completes Vincall's OAuth 2 function, which is developed using the IdentityServer4 framework. It provides a programming implementation of the standard OAuth2 four steps, and supports the OpenID standard.
Initializing
Clone the vincall-oauth repository on your computer, and install dependencies using:
git clone https://github.com/Comm100/vincall-oauth.git
Then if you want to run the project, go to the directory VincallOAuth/Vincall.OauthService/Vincall.OauthService.
cd VincallOAuth/Vincall.OauthService/Vincall.OauthService
dotnet run
You can call http://localhost:5001/ to check if the service is running.
The configuration items of the project are as follows and can be modified according to the actual situation.
{
  "ConnectionStrings": {
    "AuthDB": "Server=localhost;User=sa;Password=sa;Database=vincall"
  },
  "InitDB": "true",
  "Logging": {
    "LogLevel": {
      "Default": "Information",
      "Microsoft": "Warning",
      "Microsoft.Hosting.Lifetime": "Information"
    }
  },
  "Domain": "vincall.net"
}
- ConnectionStrings: The connection string to the Microsoft SQL server database.
- InitDB: Whether to recreate the database table structure and initialize the population of data. If the data table structure has already been initialized, it will not be modified again.
- Logging: The definition and type of the log output are changed
- Domain: When you create a cookie, you need the root domain. The cookie is written in the root domain and can be used by all subdomains.
If you are initializing for the first time, you will need to prepare the MS SQL Server environment. Once you have the database environment ready, you can change the ConnectionString Authdb key and InitDB key.
 "ConnectionStrings": {
    "AuthDB": "Server=[your ip];User=[your username];Password=[your passwor];Database=vincall"
  },
  "InitDB": "true",
Then to run the program.
dotnet run
Finally, Let's check database when opening Microsoft SQL server management studio.
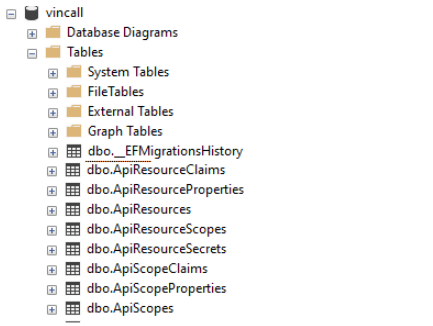
That is ok.
Project vincallApp
This project is for the development of the Comm100 app. We can extend the Agent Console and Control Panel through the Comm100 app. Pages in src/pages are developed using React. Our UI component libraries are @comm100/framework and @comm100/styledComponents which are based on Material UI.
Here is a brief description of the project directory:
src
  ├─assets
  │  ├─manifest.json  # App manifest.json file.
  │  ├─getAccessToken.html # The page visited when the login was successful.
  │  └─vincallCallback.html # The page visited when logining to Vincall successfully.
  ├─components # Directory for React UI component.
  ├─CSS
  ├─domains
  │  └─bo # Typescript type for api business object.
  ├─pages
  │  ├─integration # The app setting page.
  │  └─phone # Agent console top bar widget page.
  └─styledComponents # Styled React UI component.
Initializing
Clone vincall-app repository on your computer install dependencies using:
git clone https://github.com/Comm100/vincall-app.git
cd vincall-app
npm install
Modifying configuration
Config the domain in src/config.ts:
export const apiDomain = "{Vincall_API_Domain}";

export const defaultSiteId = "10000";

export const oauthDomain = "{Vincall_OAuth_Domain}";

export const vincallDomain = "{Vincall_Domain}";
Config the API proxy rule for develop server in proxyRules.js:
const targetDomain = "{Vincall_API_Domain}";
Start the project
Run npm run serve to start the develop server.
Project VincallIntegration
VincallIntegration is a backend project based on dotnetcore3.1. It builds the interfaces to connect vincall and Comm100, including vincall backend JwtSignIn service、vincall backend oauth2 callback service and agent mapping service.
Initializing
Clone vincall-integration repository on your computer, install dependencies using:
git clone https://github.com/Comm100/vincall-integration.git
Then if you want to run the project, go to the directory VincallIntegration/VincallIntegration.Service/VincallIntegration.Service.
cd VincallIntegration/VincallIntegration.Service/VincallIntegration.Service
dotnet run
You can call http://localhost:5001/swagger/index.html to check if the service is running.
Modifying configuration
Modify appsettings.json
The configuration items of the project are as follows and can be modified according to the actual situation.
{
  "ConnectionStrings": {
    "Vincall": "Server=localhost;User=sa;Password=sa;Database=vincall"
  },
  "InitDB": "false",
  "Logging": {
    "LogLevel": {
      "Default": "Information",
      "Microsoft": "Warning",
      "Microsoft.Hosting.Lifetime": "Information"
    }
  },
  "OauthUri": "https://oauth.vincall.net",
  "TokenPrivateKey": "MIIFHDBOBgkqhkiG9w0***=="
}
- ConnectionStrings: The connection string to Microsoft SQL server database.
- InitDB: Whether to recreate the database table structure and initialize the population of data. If the data table structure has already been initialized, it will not be modified again.
- Logging: The definition and type of the log output are changed
- OauthUri: Vincall's OAuth 2 service address.
- TokenPrivateKey: Private key ciphertext required for token issuance.
If you are initializing for the first time, you will need to prepare the MS SQL Server environment. Once you have the database environment ready, you can change the ConnectionString Authdb key and InitDB key.
 "ConnectionStrings": {
    "AuthDB": "Server=[your ip];User=[your username];Password=[your passwor];Database=vincall"
  },
  "InitDB": "true",
Then run the program.
dotnet run
Finally, Let's check database when opening Microsoft SQL server management studio.