Introduction
In this tutorial, You will learn how to add a dial pad to the top bar of the Agent Console.
When the agent uses the Comm100 Agent Console, we hope that the agent can handle the phone request at the same time. When there is a call in, the agent can get notified in the Agent Console and can quickly answer the call. At the same time, it is also very convenient to use the dial pad to call specific customer. So we want to add a dial pad to the top of the Comm100 Agent Console.
Step-by-Step Instructions
We use the Comm100 app to extend the top bar UI and interact with the Agent Console by referencing the Comm100 Client SDK.
The tutorial covers the following tasks:
- Adding a Phone Button in Agent Console
- Developing a Dial Pad Page in Vincall
- Add Event Handle for Message Event in Vincall App
Adding a Phone Button in Agent Console
You can find out all related files in vincall-app project about this step.
- Add the following definition in the app's manifest. The position of this file is placed to src/assets/manifest.json .
{
  "agentConsole": {
    "widgets": {
      "topBar": {
        "id": "vincall-phone",
        "url": "./phone.html",
        "icon": "./images/default.png",
        "tooltip": "Available"
      }
    }
  }
}
- id:
vincall-phone. We just have to make sure it's unique in the app - url:
./phone.html. It will locate to a page in the app package, which we'll implement later. - icon:
./images/default.png. The image in the package will be displayed on the top bar after loading. - tooltip:
Available. Indicates that the phone status is available by default. The corresponding text is displayed when the mouse is moved over.
- Implement the function of the
main.tsxpage. Here we will not repeat the entire front-end construction process, but only explain the key code of this page. The position of this file is placed to src/pages/phone/main.tsx.
import React, { useEffect, useRef } from "react";
import { render } from "react-dom";
import { receiveMessageHandle } from "./messageHandle";
import { popperContentUrl } from "src/config";
import { initPopover } from "../../helper/popperManager";
import { registerEvents } from "./eventHandle";

const App = () => {
  const iframeRef = useRef<HTMLIFrameElement>();

  useEffect(() => {
    window.addEventListener("message", receiveMessageHandle, false);
    registerEvents(iframeRef.current?.contentWindow);
    initPopover();
  }, []);

  return (
    <iframe
      ref={iframeRef as any}
      src={`${popperContentUrl}${window.location.search}`}
      width="100%"
      height="100%"
      frameBorder={0}
      allow="camera *; microphone *"
    />
  );
};

render(<App />, document.getElementById("main"));
In above codes, we reference phoneDialer page in the iframe which provided by the vincall-portal. Following step introduces how to create phoneDialer page.
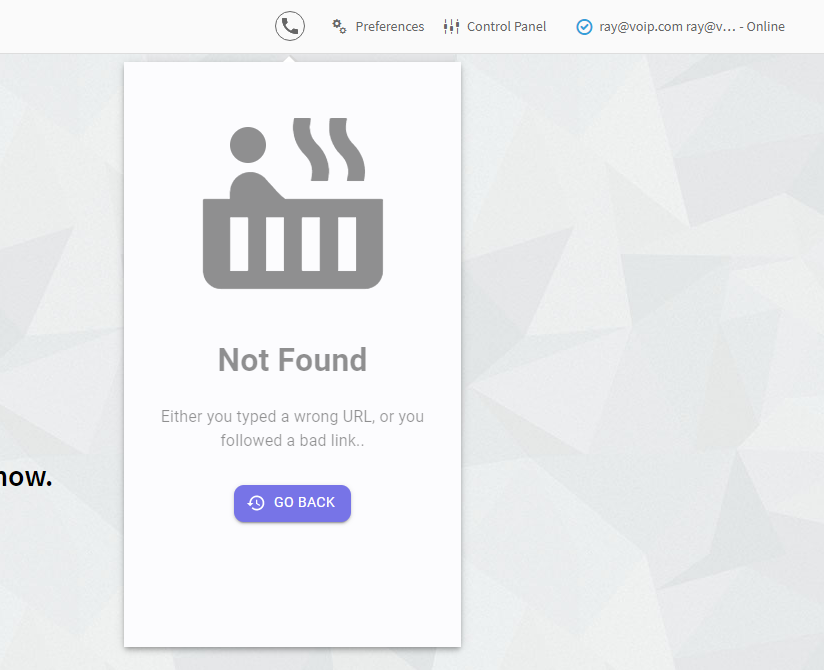
Now we have added a topbar icon in Agent Console. If we click the icon, A pop-up box will show and display a 404 not found page. But why? Because there is no /#/phonedialer page in Vincall yet. Next let's add a /#/phonedialer page to Vincall.
Developing a Dial Pad Page in Vincall
You can find out all related files in vincall-portal project about this step.
- Create a new page called
src/Pages/CallPanel/PhoneDialer.tsx:
export const PhoneDialer = () => {
  if (deviceState.status === "initializing") {
    return (
      <Box sx={{ display: "flex", justifyContent: "center", pt: 4 }}>
        <CircularProgress />
      </Box>
    );
  }
  return
    <Box sx={{ pt: 2 }}>
      <CallScreen
        currentAgent={currentAgentId}
        currentAgentNumber={currentAgentObject.deviceNumber}
        deviceManager={deviceManager!}
        deviceState={deviceState}
        disabled={isCallDisabled}
      />
    </Box>
};
- Post device status to parent's window in the
src/Pages/CallPanel/CallPanelPageApp.ts.
The following codes were implemented in thehandleUpdateDeviceStatefunction.
transferMessage("deviceStatus", {
  type: updatedDeviceState.status,
  message: updatedDeviceState
});
- Register the new route in the
src/App.tsx
<CustomRoutes>
  <Route path="/phoneDialer" element={<PhoneDialer />} />
</CustomRoutes>
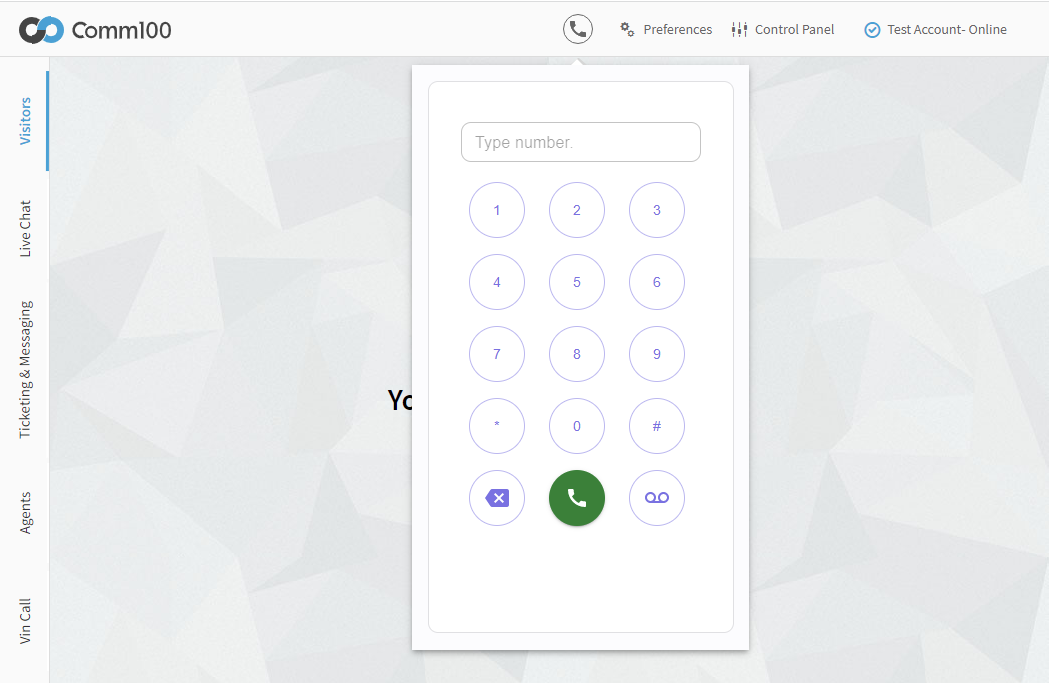
Now we have added the phone dialer page successfully. After Authentication with Comm100 Agent, click the topbar icon,
a phone dialer pop-up will display.
Add Event Handle for Message Event in Vincall App
Add call event heandles In the src/pages/phone/main.ts file in the vincall-app project.
useEffect(() => {
    window.addEventListener("message", receiveMessageHandle, false);
    registerEvents(iframeRef.current?.contentWindow);
    initPopover();
  }, []);
The receiveMessageHandle handle provided by the messageHandle file which in the same folder.
Next Steps
Now you have added a dial pad to the top Bar in agent console. This greatly enhances the connection with the customer. Next you can learn more about Adding the Call Report.