How to Extend Nav Bar
- 17 Jun 2022
- 1 Minute to read
- Print
- DarkLight
How to Extend Nav Bar
- Updated on 17 Jun 2022
- 1 Minute to read
- Print
- DarkLight
Article summary
Did you find this summary helpful?
Thank you for your feedback!
Introduction
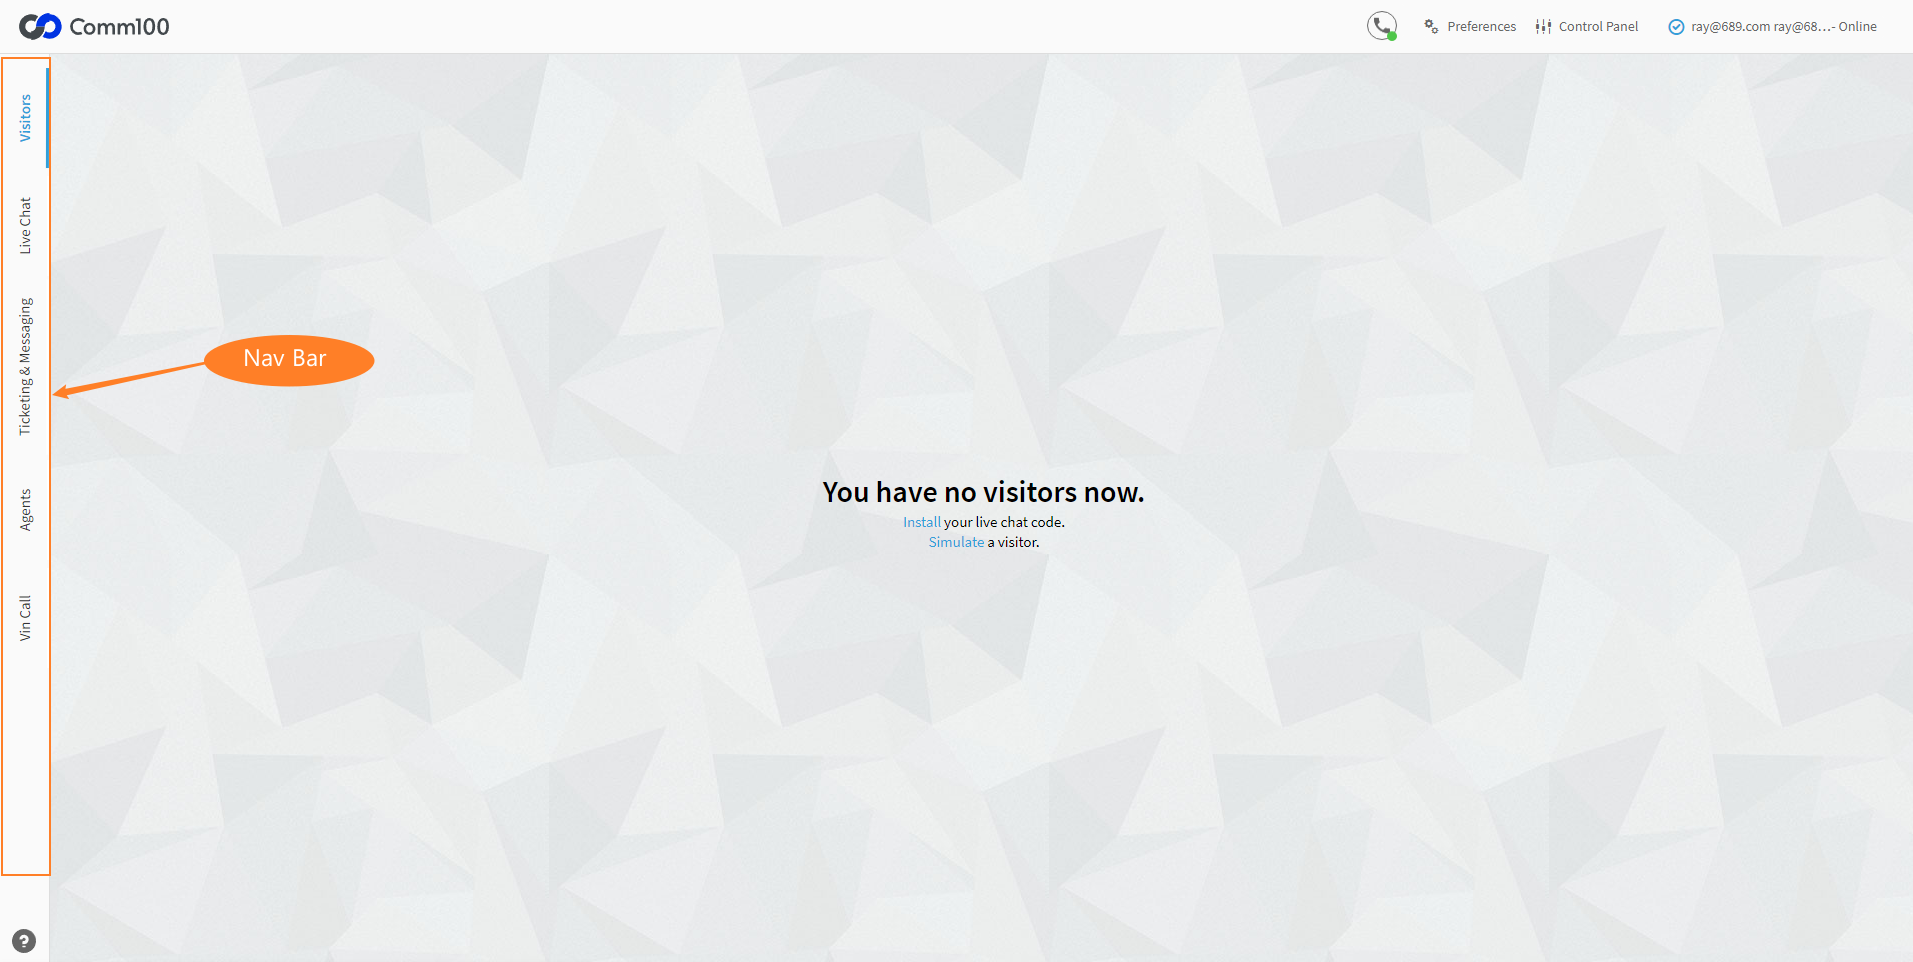
This article introduces how to develop an app to extend left tab in the Agent Console.
We will show you how to add a new tab in the Agent Console in this example. You can also use Server API(Restful) and App API(JavaScript) to implement more complex logic based on your own requirements.
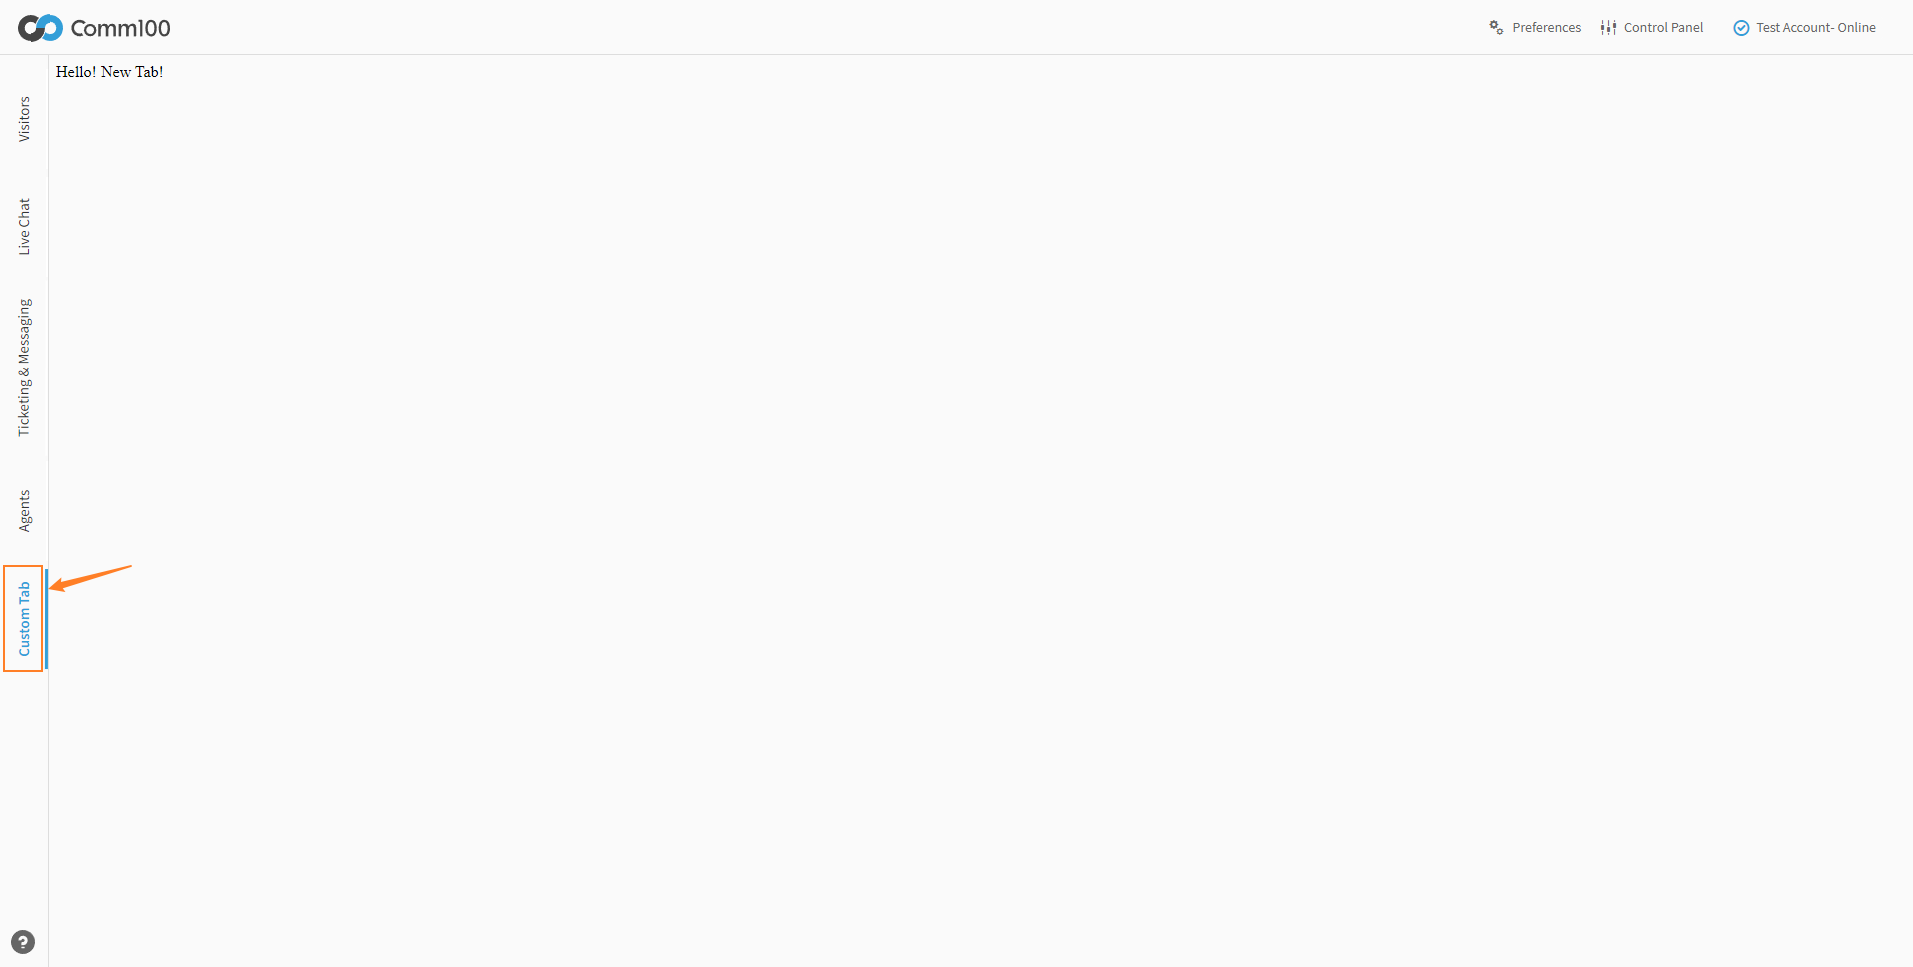
After completing all steps, you can see a new tab in the left side of Agent Console, as follows:

Prerequisites
Read Developing An App for setting up a testing environment.
Steps
Configuring the manifest file
Configure manifest as follows.
{
  "manifestVersion": "2.0",
  "agentConsole": {
    "widgets": {
      "navBar": {
        "id": "custom-tab",
        "url": "./index.html",
        "label": "Custom Tab"
      }
    }
  }
}
Properties
| Name | Type | Required | Description |
|---|---|---|---|
| id | string | yes | It as the identity of widget. |
| url | string | yes | The address of resource, which will be displayed in iframe, can be relative or absolute. |
| label | string | no | It is displayed in tab. |
Modifying the index.html
Copy the following code to index.html
<!DOCTYPE html>
<html lang="en">
  <head>
    <meta charset="utf-8" />
    <title>Hello App</title>
    <script type="text/javascript" src="./js/APPClient.js"></script>
  </head>
  <body>
    <div>
      Hello! New Tab!
    </div>
  </body>
</html>
Testing App
Follow this guide, log in to Agent Console, you can find a new tab in the Agent Console:

Was this article helpful?

