Introduction
This article introduces how to develop an app to extend the Chat Toolbar in the Agent Console. You can learn how to add an icon in the chat toolbar by implementing the click event "agentconsole.livechat.toolbar.icon.click" API.
You can also use Server API(Restful) and App API(JavaScript) to implement complex logic based on your requirements.
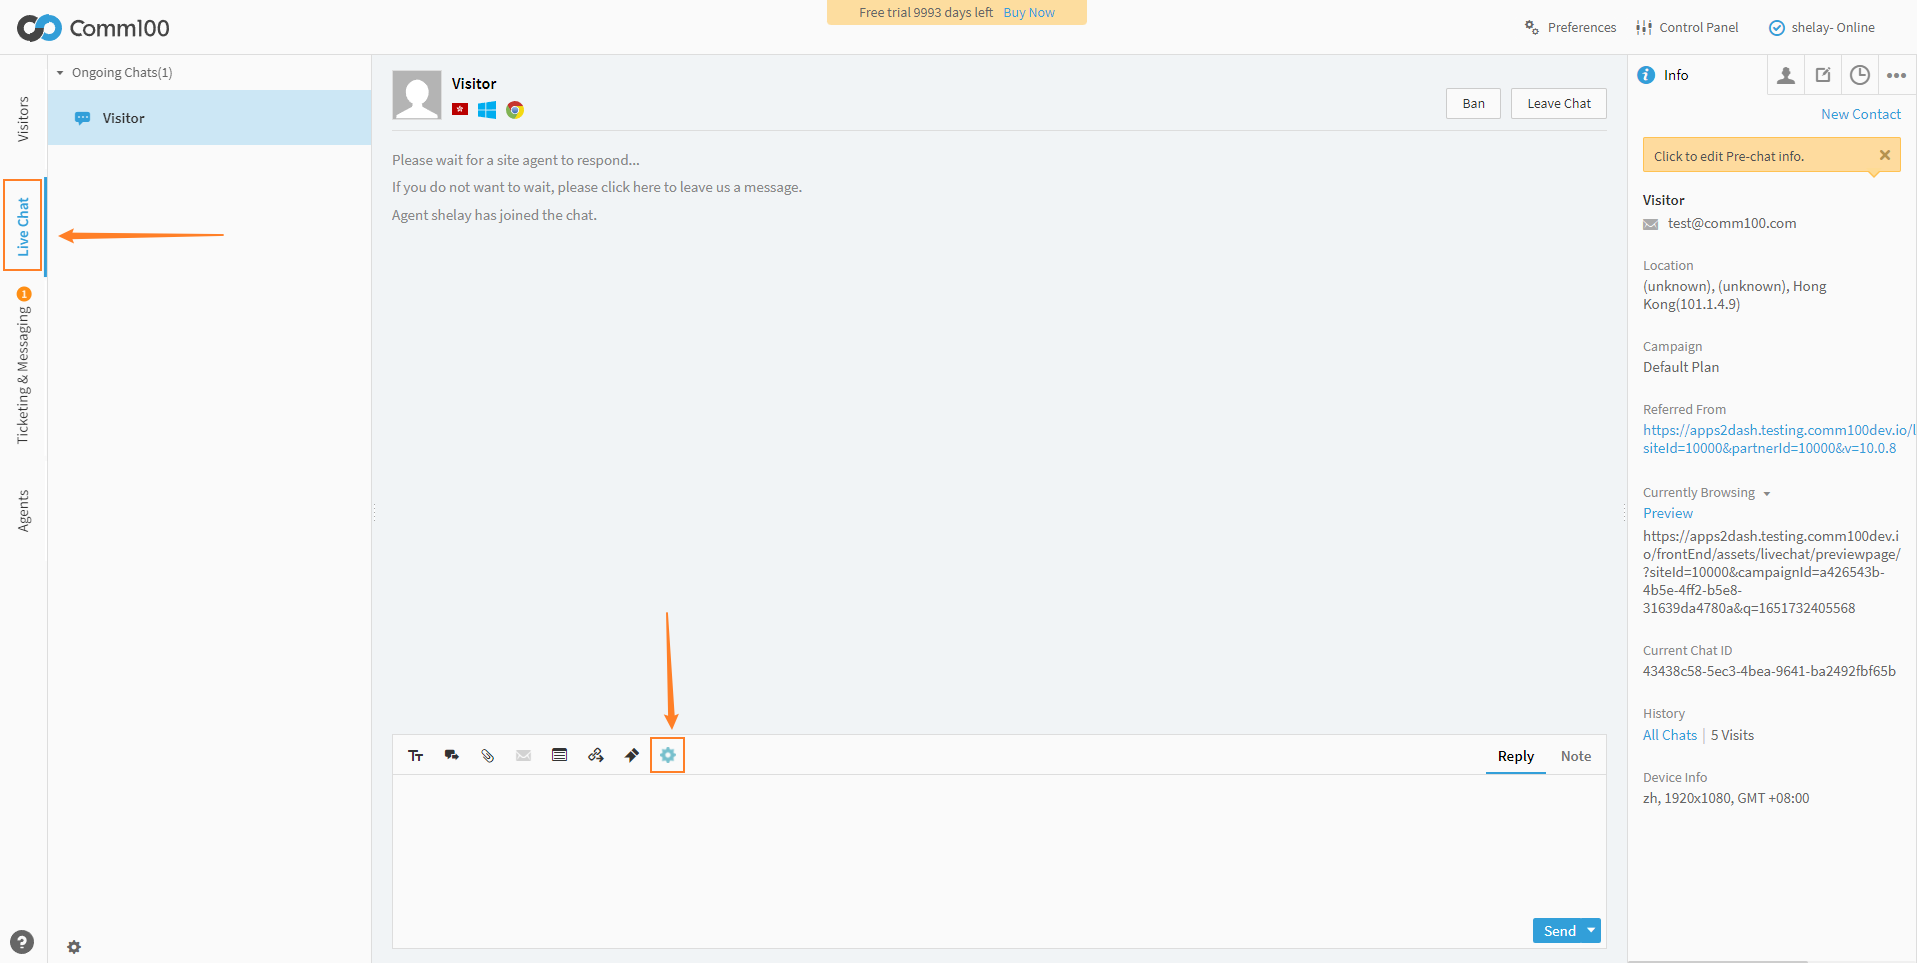
After completing all steps, you can see a new icon in the chat toolbar, as follows:
Prerequisites
Read Developing An App for setting up a testing environment.
Steps
Configuring the manifest file
Configure manifest as follows, and make sure you input chatToolbar as the widget type.
{
  "manifestVersion": "2.0",
  "agentConsole": {
    "widgets": {
      "chatToolbar": {
        "id": "custom-toolbar",
        "url": "./index.html",
        "tooltip": "Custom Toolbar",
        "icon": "./icon.png"
      }
    }
  }
}
Modifying the index.html
Copy the following code to index.html
<!DOCTYPE html>
<html>
  <head>
    <meta charset="utf-8" />
    <title>Hello App</title>
    <script type="text/javascript" src="./js/APPClient.js"></script>
    <link rel="stylesheet" type="text/css" href="./css/style.css" />
  </head>
  <body>
    <script type="text/javascript">
      var client = APPClient.init();
      client.on("agentconsole.currentChat.toolbar.click", function () {
        // do stuff
      });
    </script>
  </body>
</html>
Testing App
Following this guide, log in to Agent Console, simulate a chat, then switch to the chat tab; you can find the icon in the chat toolbar.